How to create a zine using Pages

Written by Patrick
Over a week ago
Introduction
This document explains how to create a 8-page 5.5 x 8.5 zine using Pages. We do this by taking two 8.5 x 11 (US Letter) sheets of paper and folding it in half. This is the minimum number of pages that require binding.
Layout
This section describes how to use Pages to create the Zine. All of the layout is done electronically. We used Pages version 12.2.1. You can download the original Pages or PDF file used in these instructions.
-
Open pages, and select "Blank Layout".
It is important to be in the layout view "File > Convert to Page Layout" and press the "Convert" button. You can confirm that you're in the page layout view by selecting the file menu and confirming that you see "Convert to Word Processing". You do not want to be in "Word Processing" mode. You should see page thumbnails on the left. If you don't, select "View > Page Thumbnails".
Page Layout -
Select "File > Page Setup" and select the the Zine (5.50 by 8.50 inches).
If this is your first time creating a zine with these dimensions then you'll need to create this Paper Size. To do this, select the menu next to Paper Size and select "Manage Custom Sizes..." Click the + button to add a new type. Change the Width to "5.5 in" and the Height to "8.5 in". Press "OK".
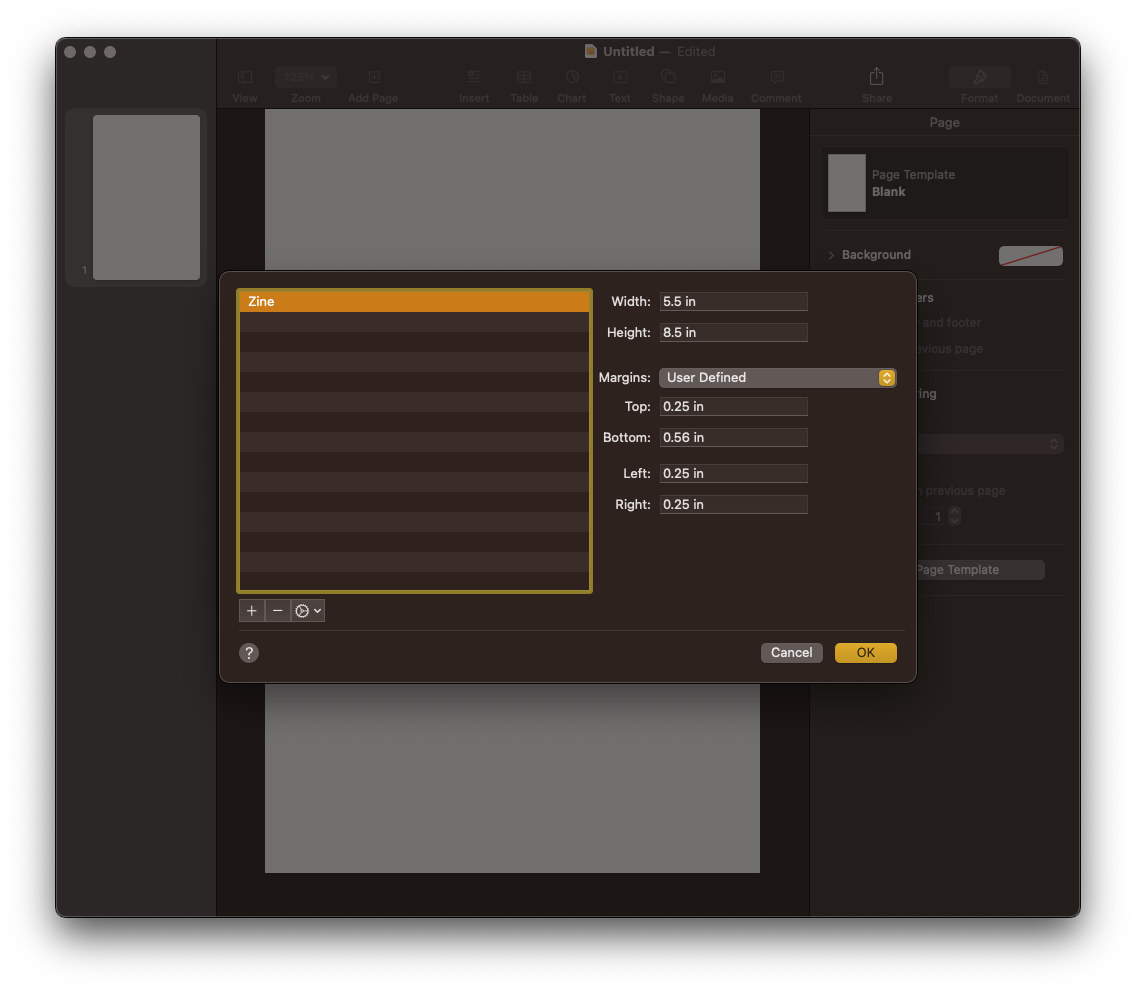
Manage Custom Sizes -
Create the content.
For demonstrative purposes, we clicked the Text icon from the menu, typed the number 1, changed the font size to 420px and repositioned/resized the text box. Then we used command+c and command+v to paste 8 pages. Then we changed the numbers on each page so that we could clearly distinguish between the pages.
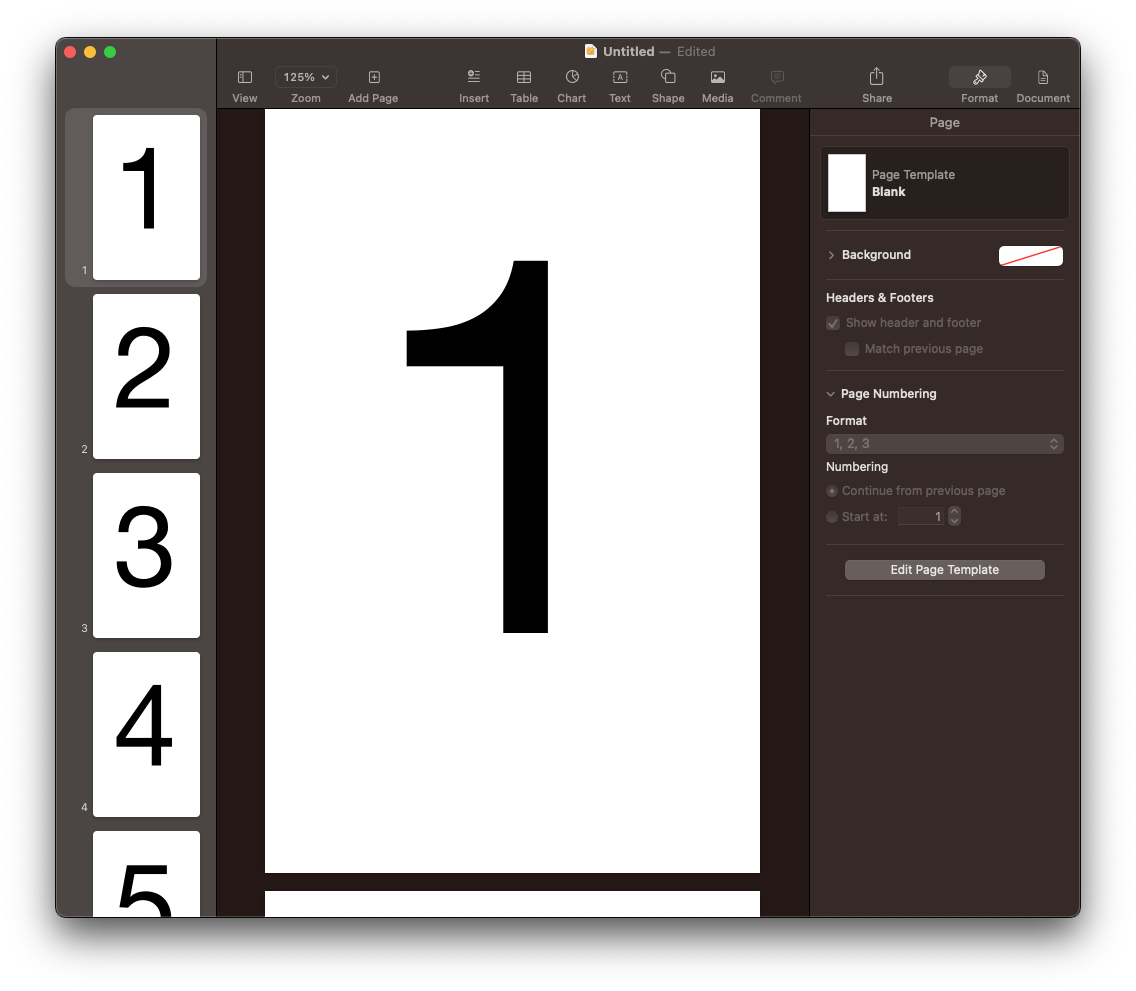
Sorted content -
Select "File > Print..."
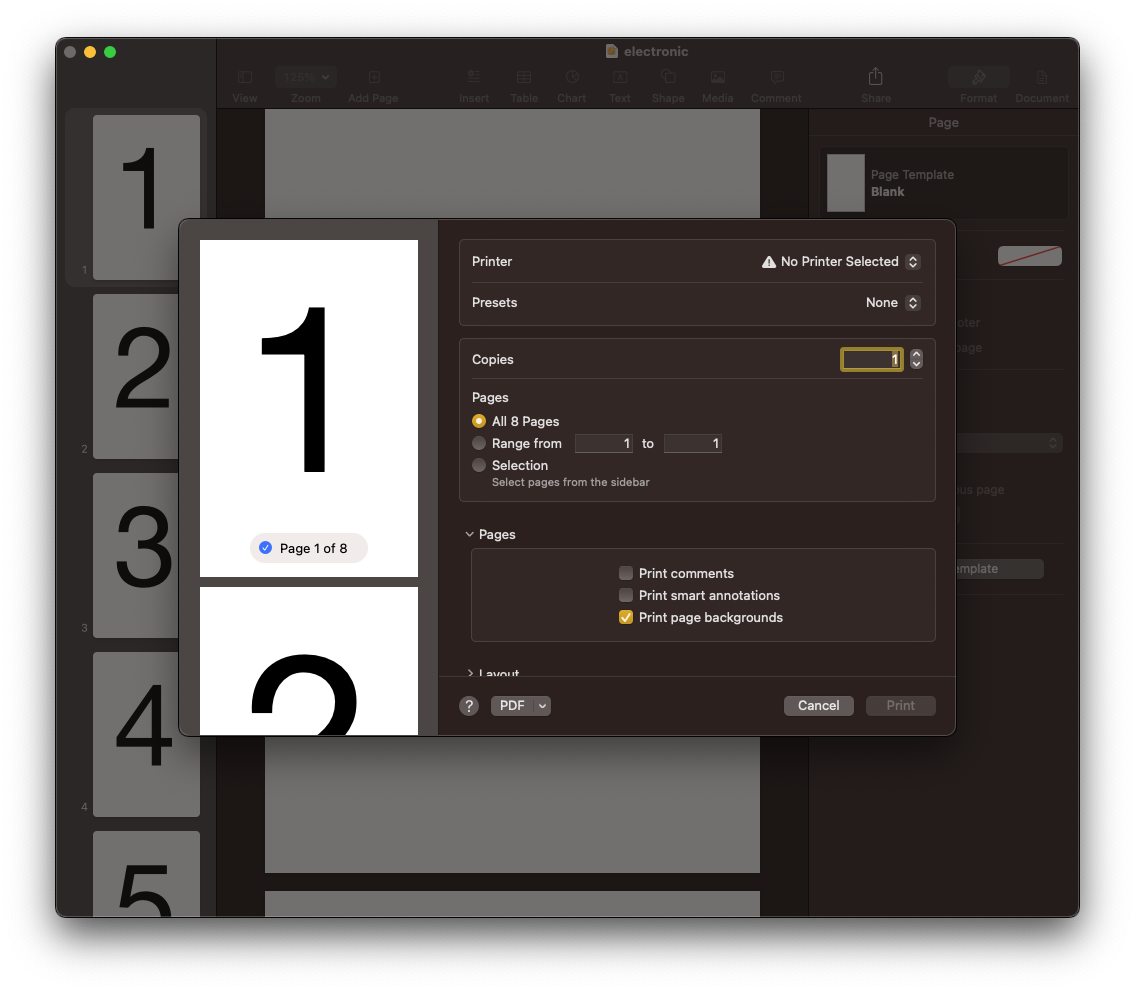
Print -
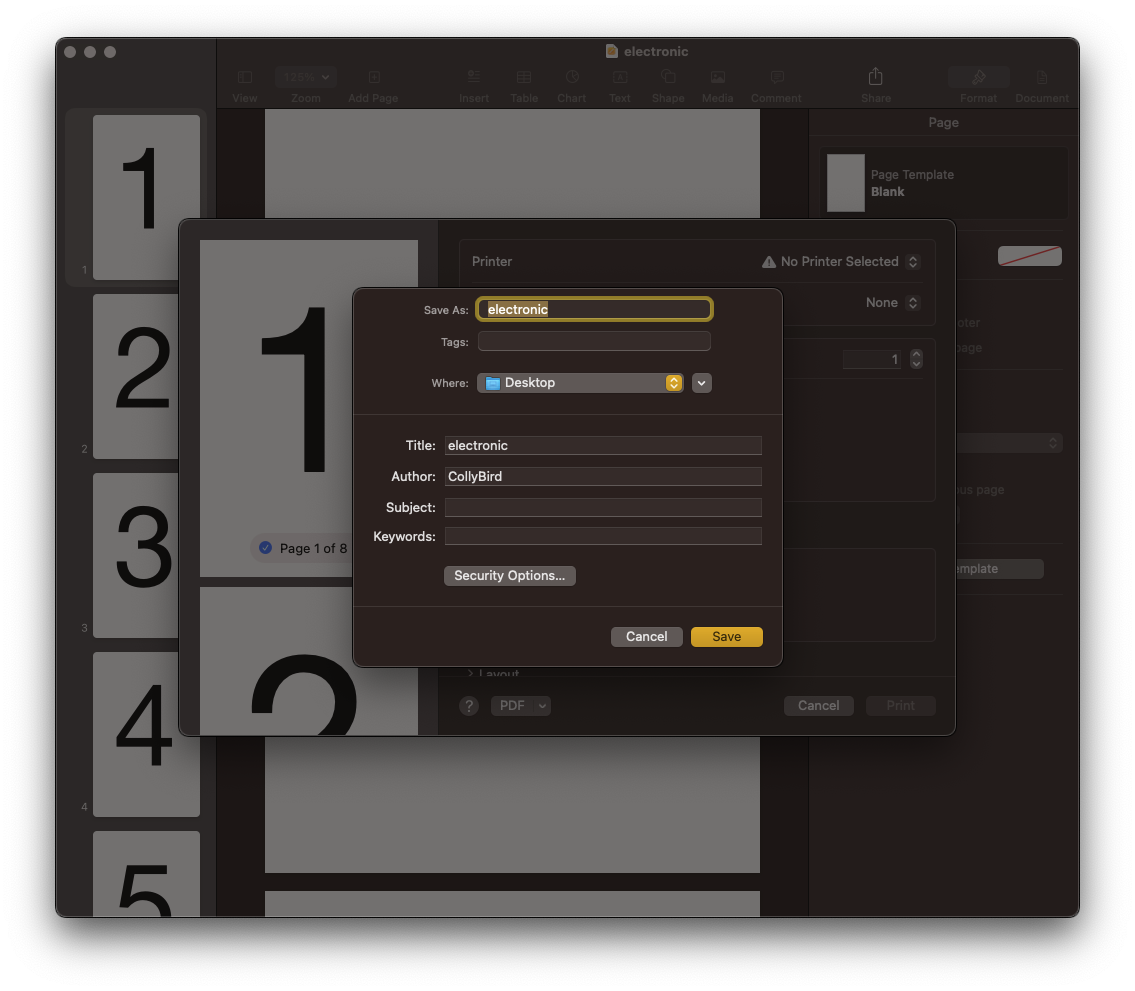
From the PDF menu select "Save as PDF...". Enter any custom options and hit "Save".
Save as PDF
Printing
This section describes how to use Pages to print a physical copy of the zine. You can download the original Pages or PDF file used in these instructions.
To print a physical copy of your zine we're going to need to rearrange the pages so that they print correctly on the sheets of paper. Before that, we need to agree on some terms. I'm making a distinction between a sheet of paper, a sides of that sheet of paper and a page printed on the side of that sheet of paper. In our zine, a sheet has two sides, and a side has two pages. When we assemble our zine, we're going to fold the sheet in half length-wise and insert one sheet inside another so that it forms a book. This process might make the order of the pages seem a little strange.
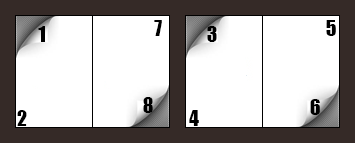
The image above demonstrates how the pages are ordered. If you flip the back side of the pages in your head, you'll see that pages 8 and 1 are on the backside of pages 2 and 7. Likewise, the sheet with pages 6 and 3 is on the back of the sheet with pages 4 and 5. It can be a little challenging to calculate the order of the pages in your head so we've created a script to help do that for you. Simply enter the number of pages in your zine and the tool will calculate the order pages on the sheet.
-
Sort the pages. You can do this by dragging and dropping pages in the "Page Thumbnails" view.

Sorted content - Select "File > Print..."
-
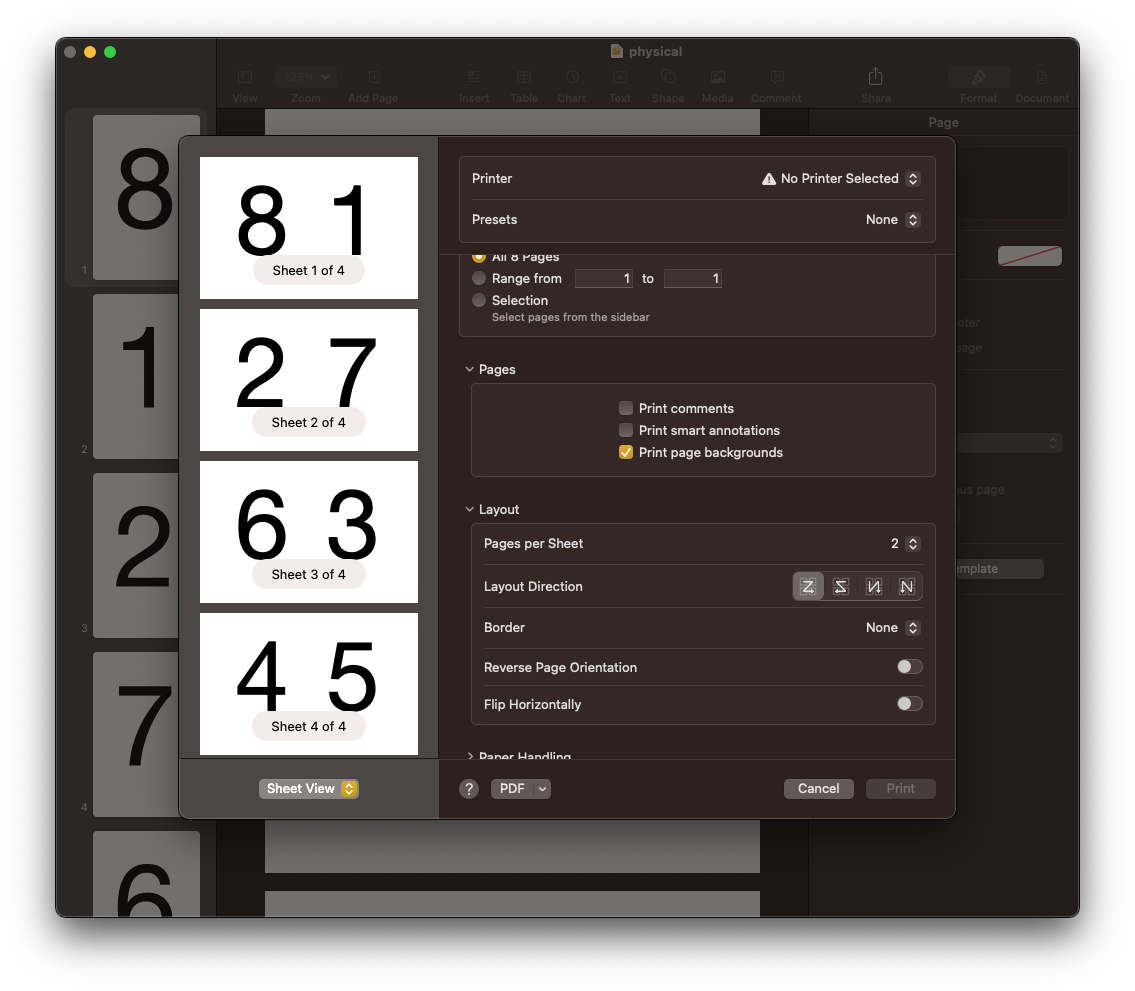
In the Print dialog, expand the "Layout" section and set the "Pages per Sheet" to "2".
Print -
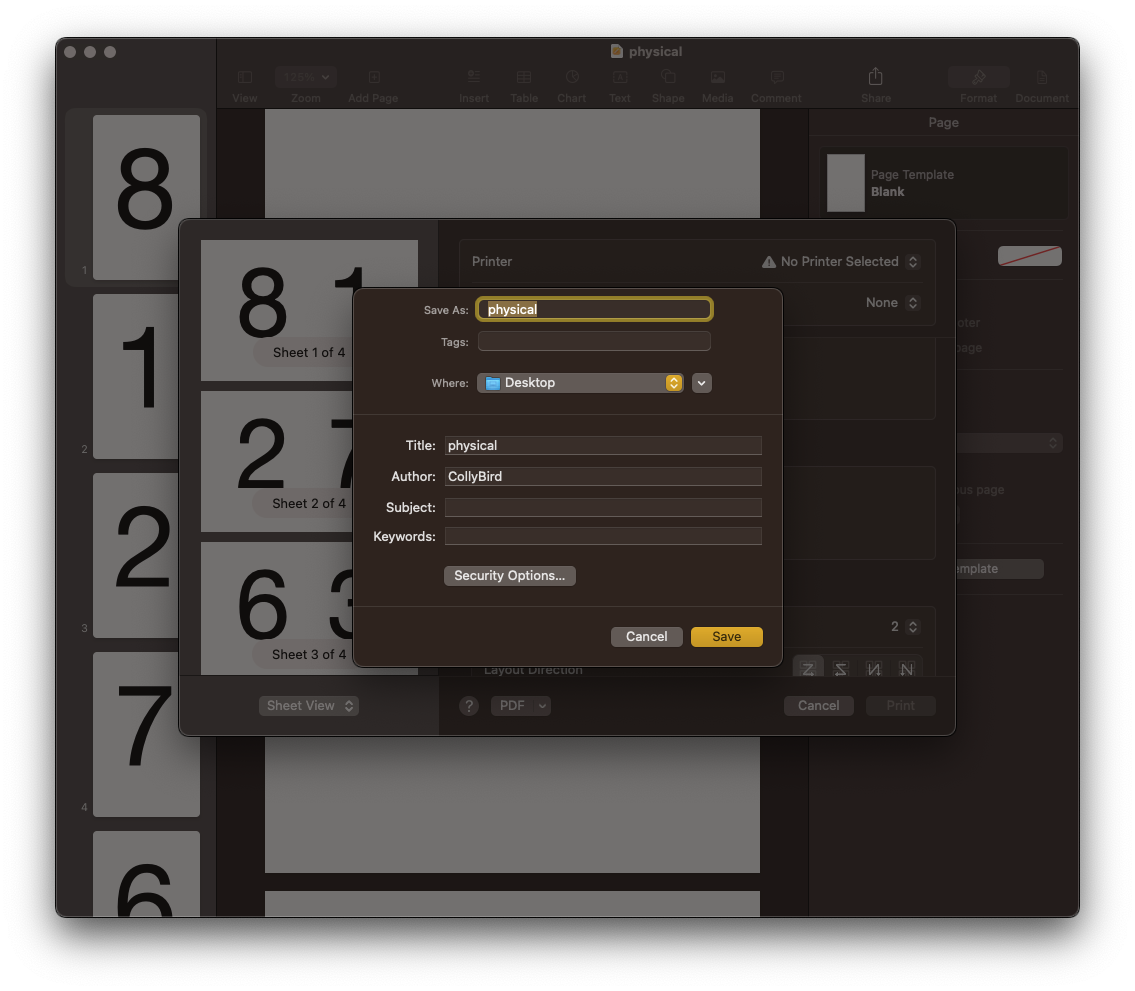
From the PDF menu, select "Save as PDF...". Enter any custom options and hit "Save".
Save as PDF - From here, you just need to figure out how to print the file double-sided on your printer.